


Paradise Journal
Underwater Photography in Bali: Macro, Wide Angle & Respect
Better underwater photographs in Bali start with subject choice and a steady position. Plan macro, wide angle, lighting and a careful selection of the final images.
In Bali, a small reef animal, a school of fish or a wreck structure can all become photographic subjects. The most useful decision often happens before entering the water: which picture will you work towards today, and which opportunities will you deliberately leave out?
This guide connects photographic choices with a practical diving day. It applies to compact cameras as well as larger housing systems. New equipment is not required for every improvement; familiarity with what you own and enough attention left for diving matter more.
Choose a macro or wide-angle priority
Macro photography depends on small forms, an uncluttered background and a position you can hold accurately. An animal hidden deep inside a fragile structure may simply be unsuitable. First check whether you can photograph it without contact. If not, choose another subject instead of moving the animal or altering its surroundings.
Wide-angle photography includes more context: a reef’s shape, a diver for scale or the transition into open water. Look at the edges of the frame as well as the main subject. A cut-off fin or a distracting bright area can weaken an otherwise successful image.
Discuss your aim with the guide. A slow search for small subjects and a planned route along a reef produce different diving rhythms. Establish whether your photographic plans fit the group or would benefit from individually arranged guiding.
Light: Distance and angle before filters
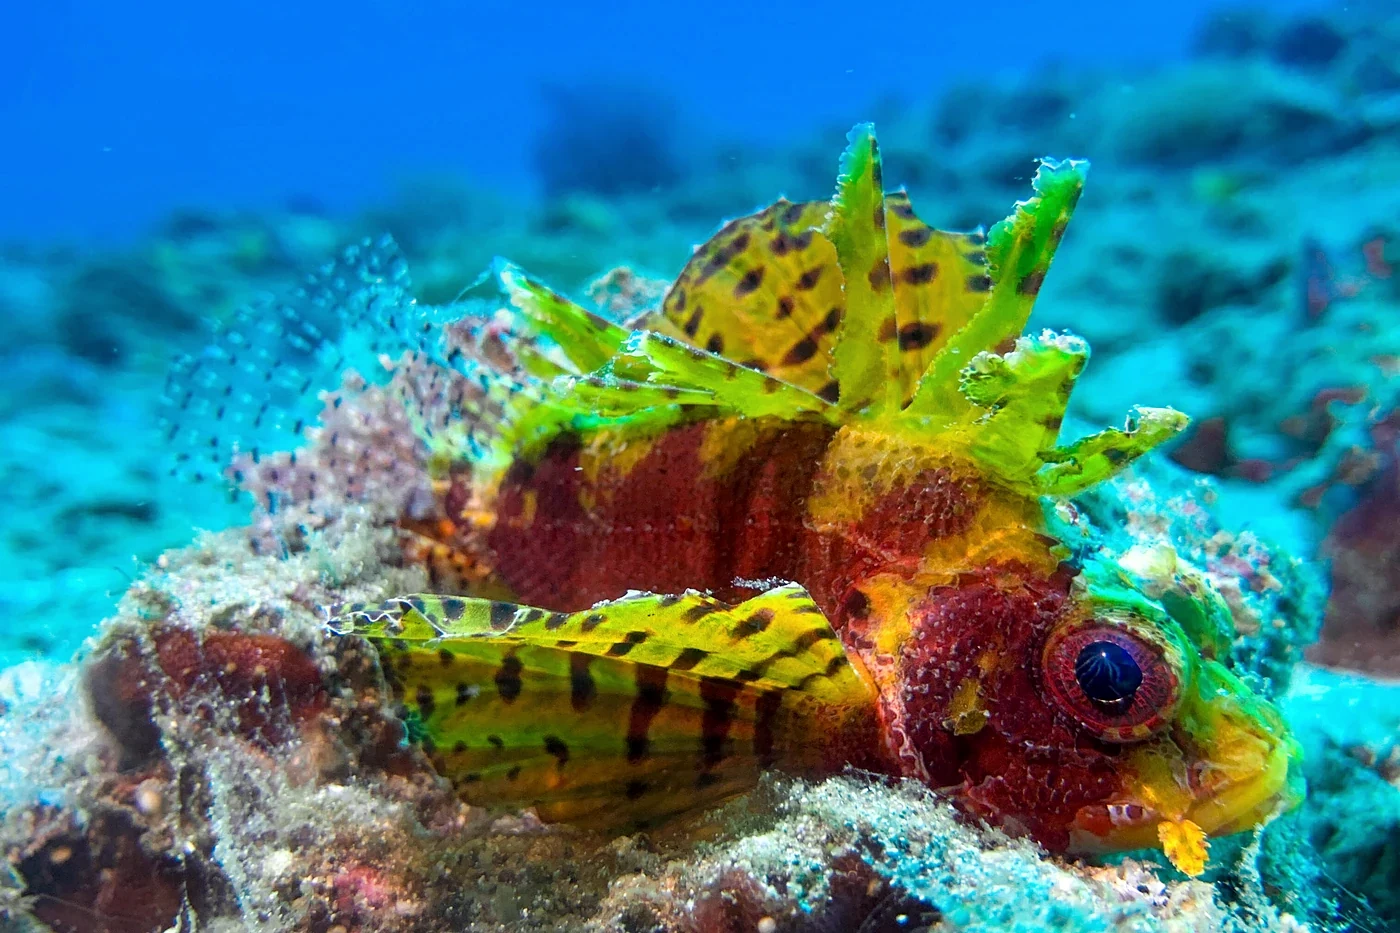
Water between the camera and the subject affects light and can make suspended particles visible. More powerful illumination alone will not make a distant subject clearer. Reduce distance only where that can be done without crowding an animal or contacting the reef. A well-chosen composition matters more than getting as close as possible.
With external lighting, its angle influences how many particles in front of the subject light up. Try the arrangement on an undemanding scene and review the result carefully after diving. Change one factor at a time on the next attempt so that you can identify what helped.
For ambient-light photographs, an appropriate white balance can be useful. It cannot recreate colour information that the original exposure did not record. If your camera supports RAW files, these provide more flexibility during processing. Even then, clipped highlights and substantial motion blur remain difficult or impossible to recover.
Editing begins with choosing the photographs
Back up the files after the dive day and first assess focus, framing and the animal’s behaviour. Select a small number of strong photographs instead of a long sequence of near-duplicates. Then adjust white balance, exposure and contrast. Careful selection saves more time than applying an elaborate effect to every frame.
Keep comparing the corrected version with its starting point. Water can remain blue or greenish; every patch of reef does not need to turn neutral grey. Excessive saturation can hide subtle colour differences. A series should feel consistent without forcing different lighting conditions to look identical.
Accurate captions are more useful than dramatic claims when publishing. Name a species only when the identification is sound. A fragment of wreck or an individual coral does not automatically establish the location. Record known locations and observations in your logbook so that the photographs can be labelled reliably later.
A short review after the diving day
Choose three photographs that evening: one you like, one with a technical problem and one you are unsure about. Look at them before editing. Is the important part of the subject sharp? Where does your eye go first? Does the frame show what interested you underwater?
Separate capture problems from processing questions. An awkward lighting angle needs another approach on the next dive; a mild colour cast may be adjustable in the existing file. Mixing the two can lead to spending a long time trying to rescue an unsuitable photograph.
Write down just one aim for the following day, such as a quieter background or more deliberate attention to frame edges. Several new settings and accessories at once make the results harder to understand. Over a few dives, this approach reveals which decisions improve the photographs and which subjects suit your present skills.
Match subjects and diving areas
Subjects are examples, never sighting promises.
| Style | Regions | Typical subjects | Planning |
|---|---|---|---|
| Macro | Padang Bai, Tulamben, Amed, north Bali | Critters, nudibranchs, seahorses | private guide, slow pace |
| Wide-angle reef | Padang Bai, Amed, Menjangan | sea fans, coral gardens, divers | consider sun and current |
| Wreck | Tulamben | steel, schools, silhouettes | early start, clear route |
| Pelagic | Nusa Penida, Candidasa | manta, possible sharks or mola | distance, experience, no guarantee |
Before travelling
Your packing checklist
Adapt the selection to your equipment and confirmed trip inclusions.
Sources & further reading